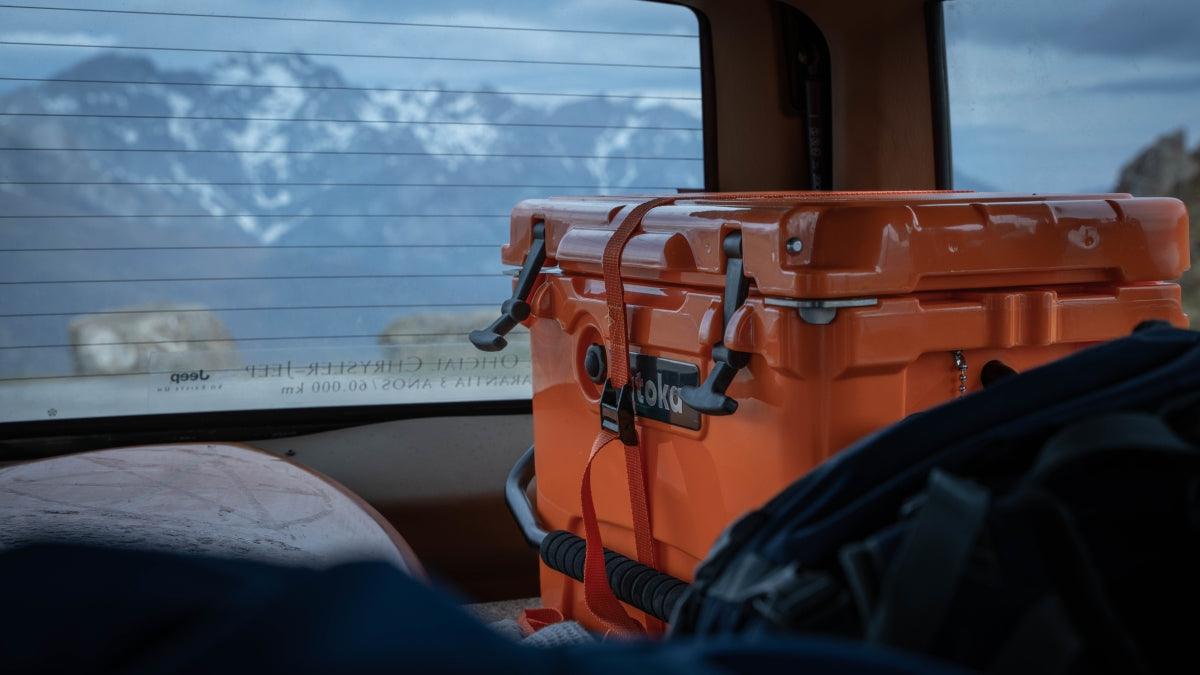
Camping
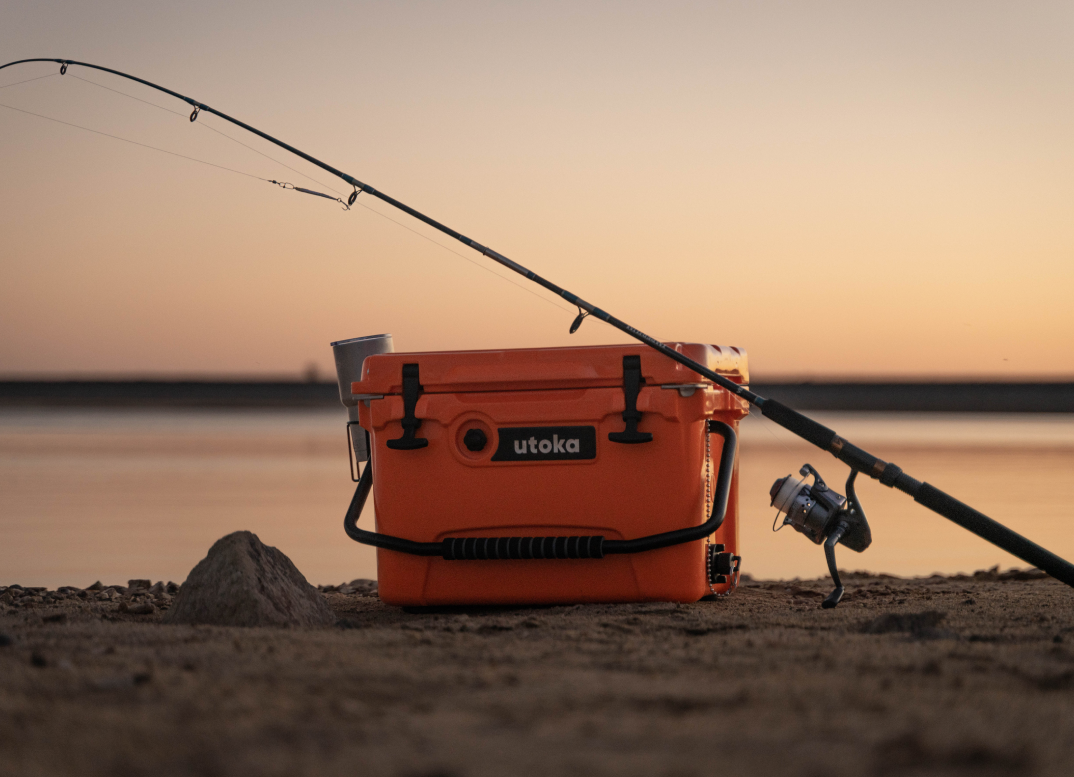
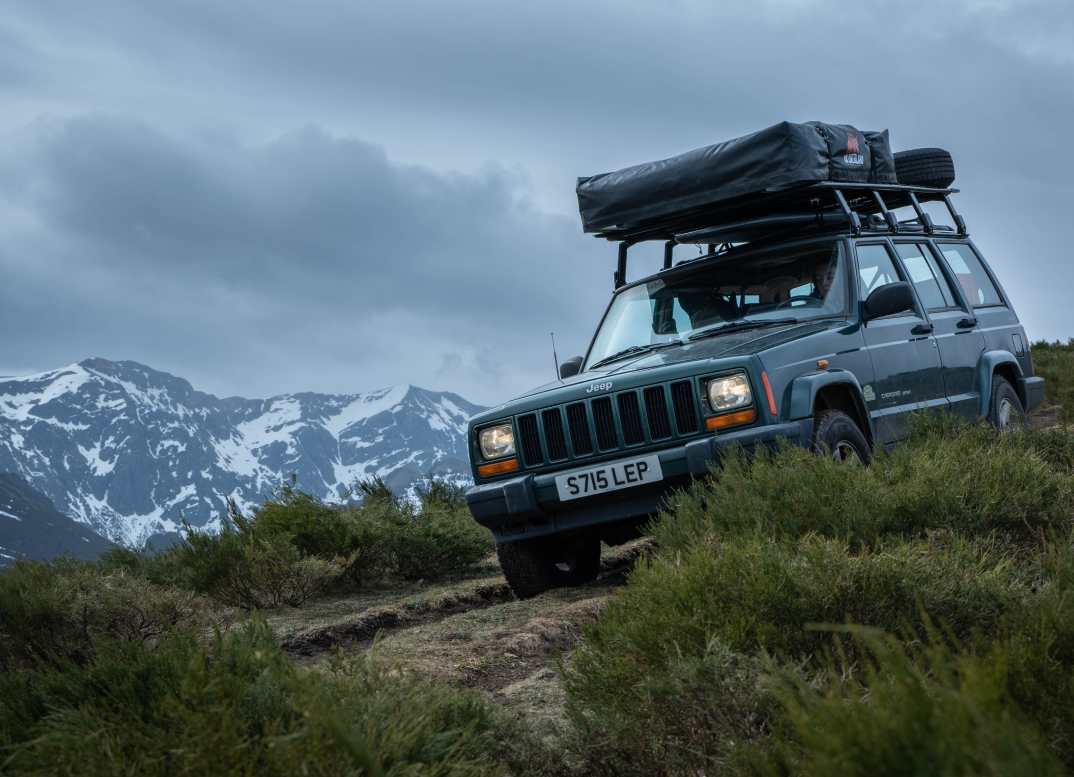
Designed for the backcountry but ready for anywhere there is a camping adventure to be had, our products lives for all adventures.
Pre-chilling a cooler box before using it is essential for reaching optimal preservation of your perishables and beverages. By cooling the cooler for 24 hours in advance, you create an insulated environment that is already at a lower temperature. This initial cold environment helps to counteract the heat transfer that occurs when you place items at room temperature or higher into the cooler.
If the cooler is not pre-chilled, the stored items would have to compete with the initial warmth, leading to a longer time frame for the contents to reach the desired chilled state. Pre-chilling minimises this temperature differential, allowing the cooler to efficiently maintain the desired internal temperature and extending the freshness of your items during your outdoor adventures or gatherings.
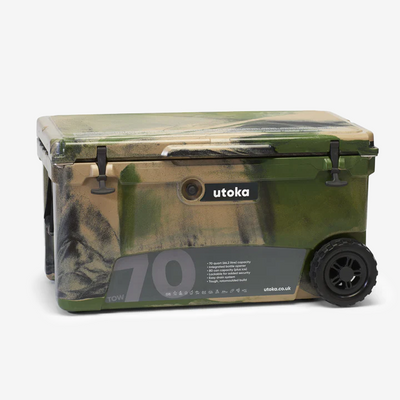
In a rotomolded cooler (premium cooler), the insulation and ice retention capabilities are much more advanced than a standard cooler. As a result, you can use less ice compared to traditional coolers while still maintaining excellent temperature control for an extended period.
A common guideline for using ice in a rotomolded cooler is the 1:2 ice-to-contents ratio. This means that you would use roughly one-third of the cooler’s capacity for ice and the remaining two-thirds for your items. This ratio takes advantage of the cooler’s superior insulation properties and allows you to optimise space while ensuring effective cooling.
Keep in mind that the actual amount of ice you use may vary based on factors such as the size of the cooler, the ambient temperature, the length of time you need to keep items cold.
By following these steps, you can maximise the efficiency of your cooler packing and keep your items cold for an extended period during your outdoor adventures.